- HubPages»
- Technology»
- Computers & Software»
- Operating Systems»
- Windows
How to install Windows 7 from a USB drive


The most common method used to install any operating system is through CD up to recent time from the time of floppies. But now this trend is changing, now people prefer to install different operating systems from usb devices like pen drive, external hard disks etc.
ADVANTAGES OF INSTALLING FROM USB
First advantage is that this installation is more fast compared to installation from a CD. This is because from usb time taken to copy files to the system before installation is very less as usb drives can transfer data more fast than CD. But if you are using a CD this time will be higher. There after both methods will take same time.
Second advantage of installing from usb device is that it can be used even if your CD drive is not working. Installation from usb is the best way to install OS if your CD drive is not working.
Steps to install windows 7 from usb
For installing from usb there are certain steps that are need to be taken before you start installation. First of all you need to have a usb drive of capacity of a minimum of 4 GB, and windows 7 installation file which can be copied from a CD or downloaded from internet.
Technically you can describe the first step as making the usb drive bootable. For this follow the steps below
1. Plug usb to the port of a system installed with windows. If your system do not have use friend's system. It will not take long.
2. Open DOS command prompt in windows. (This can be done in many ways. First of all if you are in a system installed with windows 7 or vista, click start menu and type cmd, it will be the first option. Second way- you can go to run prompt by pressing Win key+R and then type cmd there and press enter. Third way- Start -> Programs-> Accessories ->command prompt)
3. Next you have to type the below listed commands in command prompt
diskpart This command will launch the disk partition utility in command prompt
list disk This command will list the disks connected. If only hard disk and usb then hard disk will be disk 0 and usb will be disk 1. Find the usb looking the size and not its disk number
select disk 1 Make sure that you are specifying the correct disk number, otherwise you may format other drive.
clean This command will clean any partitions inside the usb if it is there. Also it will volume format the disk selected above using the select command
create partition primary This command will create a primary partition inside the usb. As we are not specifying any size it will make the entire usb a primary partition
select partition 1 This command will select the partition inside the usb that we just made, so that you can do the remaining tasks on that partition
active This step makes partition active. It allows the usb to be detected when booting. If the device is not active, it will not be detected while rebooting
format fs=fat32 quick This command will format the partition selected in usb in FAT32 filesystem. You can also use NTFS file system. This will take some time to format the disk. But the quick format option will do it as fast as possible
assign This command is usually used to assign different partitions different drive letter. Here it is not required to assign any letter so simply use this command without any letter after that.
exit This command will exit you from the disk partition utility
If you have any doubt about any of the commands you can visit Microsoft site reference
4. Now you have to copy the windows installation files to the usb that we made bootable. If you have the copy of windows as ISO file you need to mount it using some mounting software and extract the contents to the usb that you formatted now.
5. Now you need to do only one step before starting installation. That is you need to set the booting priority of usb disk higher than hard disk, otherwise it will boot from hard disk, if there is another OS installed in hard disk. For doing this go to bios and make usb as the first device to boot from. For example see the picture below

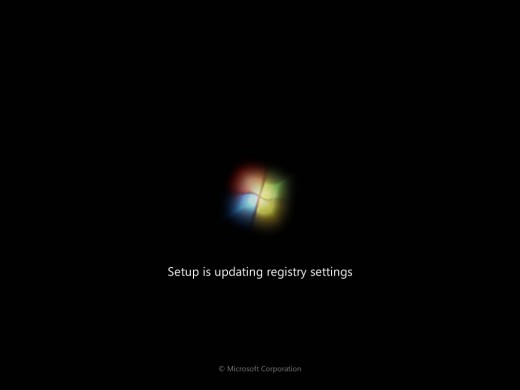
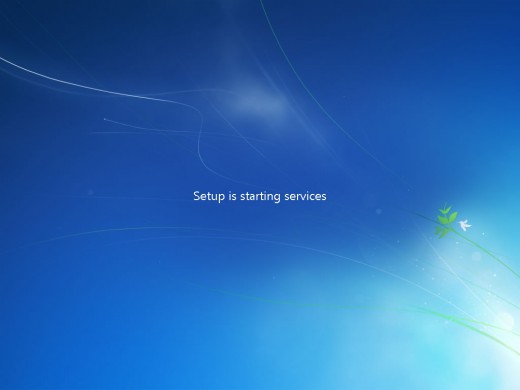
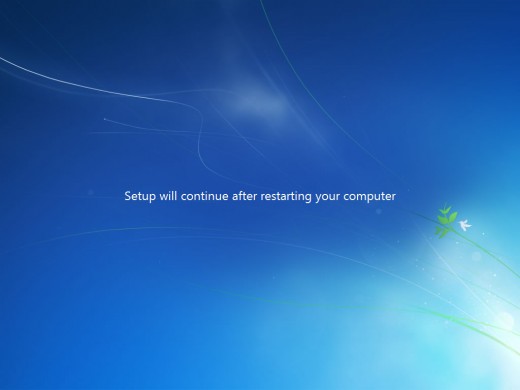
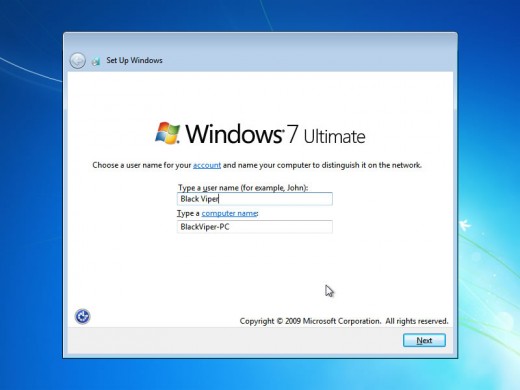
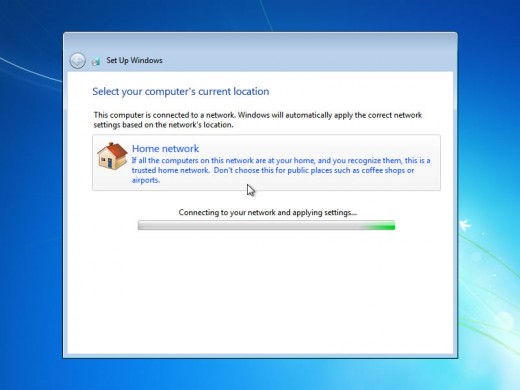
6. After making usb the first boot device, save settings and exit from bios. Then naturally the installation will start from usb. You can see that it is very fast compared to installation from a usb. I think you will be familiar with OS installation. All will be simple selection of language, time etc. The only section that you need to be careful is during partitioning only.
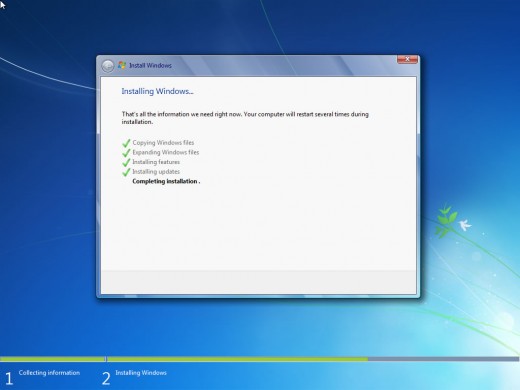
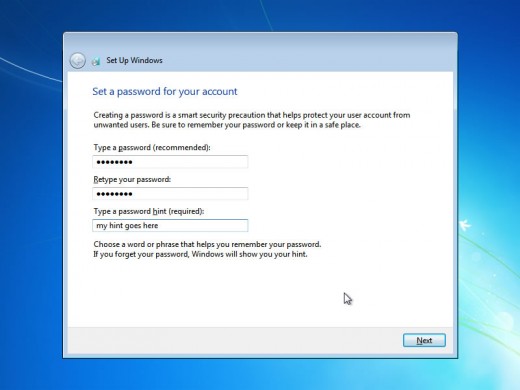
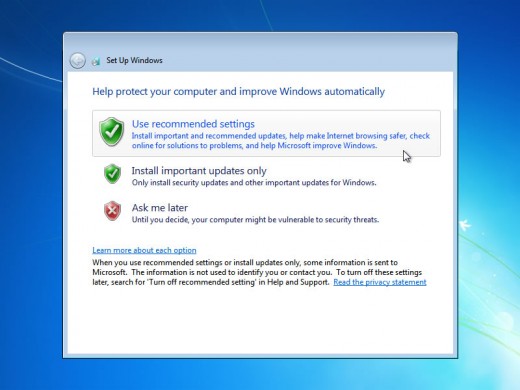
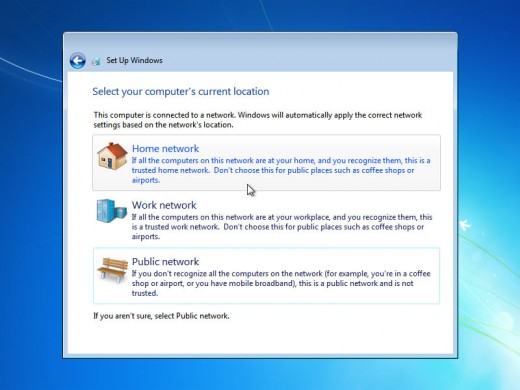
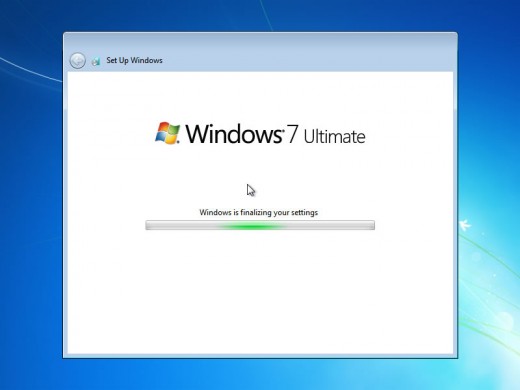
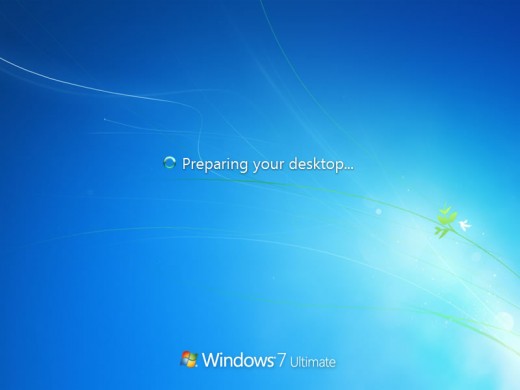
7. Installation will continue smoothly if you follow the instructions in the screen. After completion of installation system will reboot automatically. Then you have to be careful. While rebooting press the F2 button or delete button and go to bios and change the boot priority again so that this time hard disk will be the first boot device. Because otherwise again it will boot from usb.
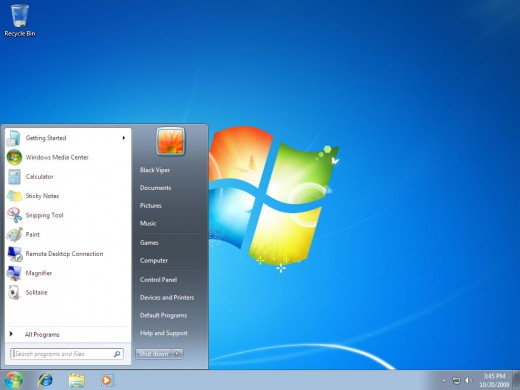
If you have done exactly as described, you can install windows much faster from usb drive compared to installing from CD


Read more on
- How to solve compatibility problem in Windows 7 usin...
With the arrival of Windows 7 windows has made it`s mark on the software industry more strong which was faded by the failure of Windows vista to meet expectations. But now another problem comes in, Windows 7... - Samsung chrome book hits market keeping everything i...
The first complete cloud device released to market last week, Samsung Chrome book. This comes to market as a Samsung 5 series laptop. The peculiarity of this device is that it is completely cloud operated.... - How to run Android applications in Windows
Can we run Android applications in Windows?. Considering the competition between Google and microsoft it is not possible for them to allow it. But in todays digital world nothing is impossible. That is we can...
Related

How To Boot & Install Windows XP, Vista or Windows 7 And 8 From A USB Flash Drive

Using Wubi to Transition From Windows XP to Lubuntu Linux
 in Windows 7")
How to Install Picture Motion Browser (PMB) in Windows 7

Solution for Windows 7 Stuck on Welcome Screen

Variety is the Spice of Desktops: Changing Windows 7 Wallpaper Automatically and Regularly